APEX PDF Printing using Oracle Reports RDF Files
In this tutorial we will explain how to customize pdf printing in Oracle APEX using RDF files that designed in Oracle Report Builder.
The following topics will be covered:
Reporting Server Installation and configuration.
Run RDF files from APEX Application.
Reporting Server Installation and configuration
In order to customize Oracle APEX with Oracle Reports to run .rdf files that designed in Oracle Report Builder, you have first to install a reporting server; in this guide we use Oracle Application Server 10g 10.1.2.0.2.
In this section the following topics will be covered:
- Downloading Oracle Application Server 10g.
- Installing Oracle Application Server 10g.
- Configuring Oracle Application Server 10g.
- Call .rdf report from APEX using Application Server.
Downloading Oracle Application Server 10g.
You can download Oracle Application Server 10g from this link
Installing Oracle Application Server 10g.
Follow below step by step instructions to install Oracle Application Server:
- Go to the directory on which you downloaded the Application server file and run the
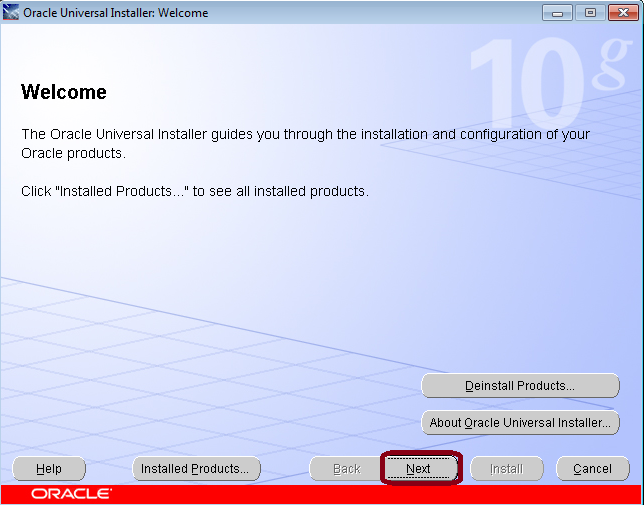
setupas administrator - Once the welcome interface opened click on
Next
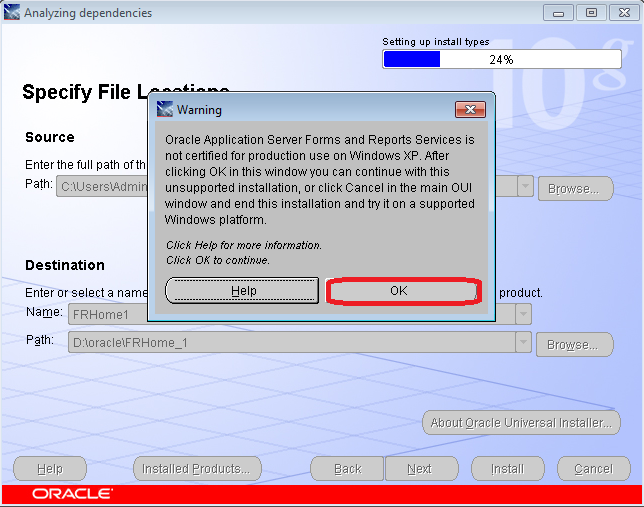
- Specify the full path where you want to install the Application Server click on
Next. For example:

- If a warning popped up as below image, just click
Ok
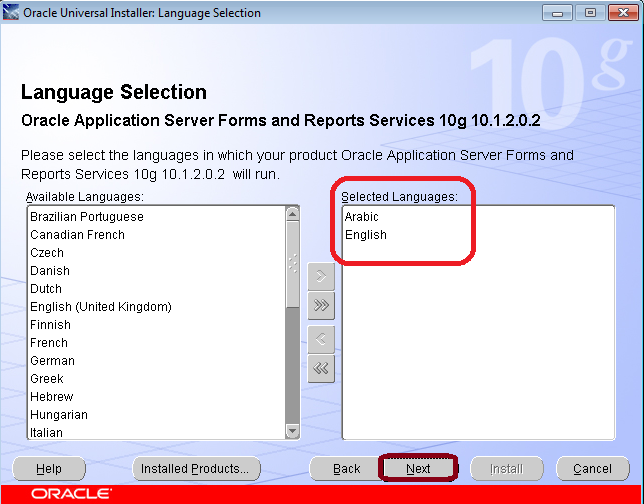
- Select the languages you want to use in your reports and click on
Next. For example:
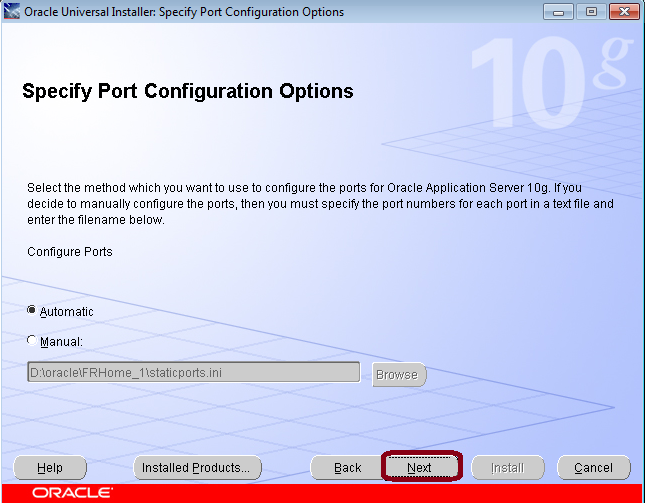
- In
Specify Port Configuration Optionsstep, selectAutomaticand click onNext. For example:
- In
Provide Outgoing Mail Server Informationstep, s click onNext. For example:

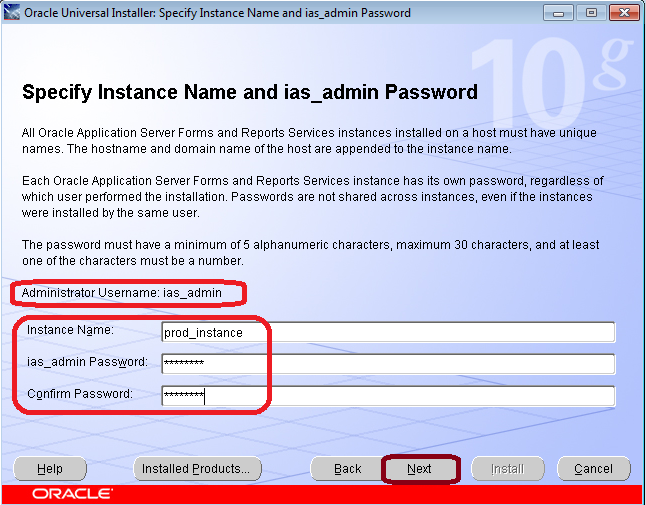
- Specify Instance Name and ias_admin password. For example:
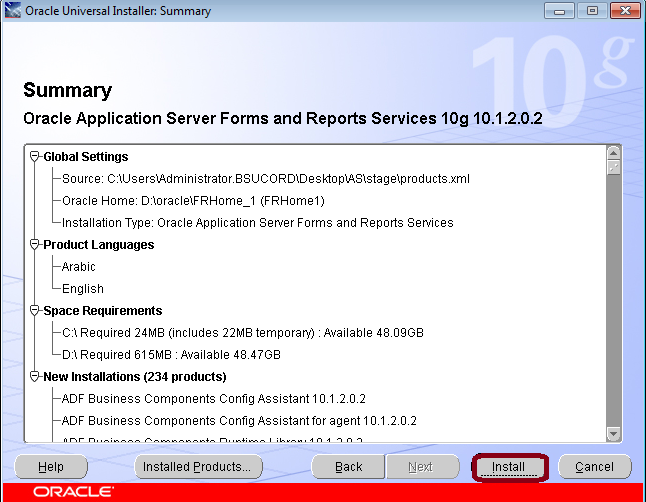
- Click on Install
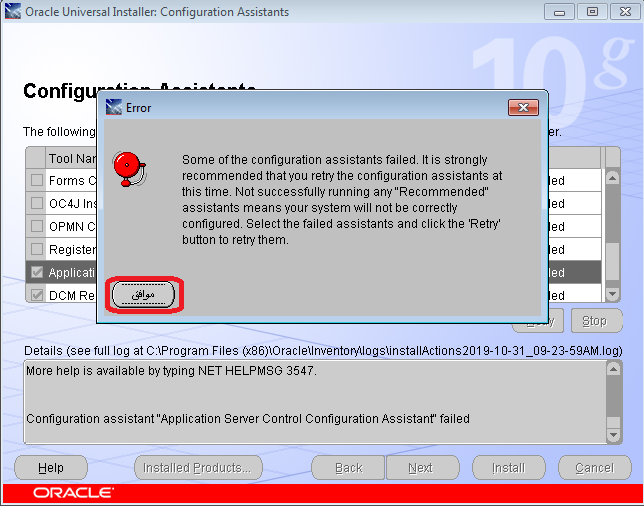
- You may encounter an error like below image. Just click
Ok.
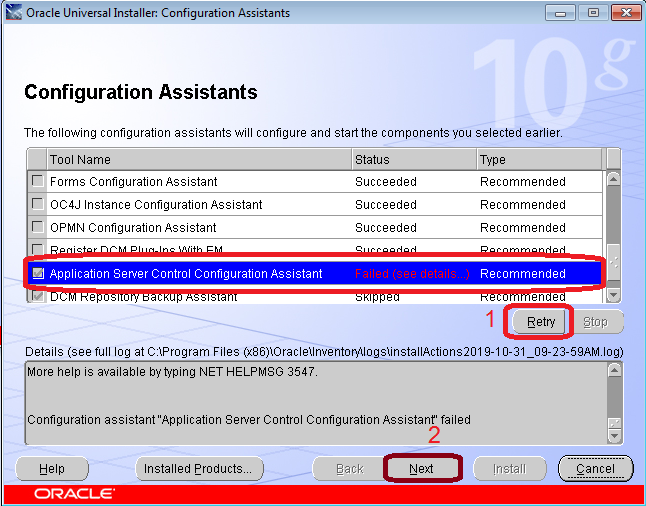
- Click on
Retryand click onNextafter that.
- Save the
urlto log in to the Application server Enterprise Manager and click onExit

- Now you can access Application server Enterprise Manager using the Url:
http://Host:APPLICATION_SERVER_PORT
Where:
HOST: is the machine name or IP address on which the Application Server installed.APPLICATION_SERVER_PORT: is the port of the Application Server installed. It is18100by default. For example: http://localhost:18100
Configuring Oracle Application Server 10g
In this section we will cover the following topics:
- Connect Application Server to the Database.
- Map APEX Parsing schema with Application Server.
- Run reports from APEX Application.
Connect Application Server to the Database.
To connect the Application server to a database by adding the connection string of the target database to the tnsnames.ora file in the Application Server TNS Directory:
Go to the Application server TNS Directory:
Application_Server_Directory\Network\AdminIn our case
Application_Server_Directoryis:D:\oracle\FRHome_1as installed in previous steps:D:\oracle\FRHome_1\Network\Admin
Open
tnsnames.oraand add the connection string. For example:XE= (DESCRIPTION = (ADDRESS = (PROTOCOL = TCP)(HOST =localhost)(PORT =1521)) (CONNECT_DATA = (SERVER = DEDICATED) (SERVICE_NAME =XE) ) )
Map APEX Parsing schema with Application Server.
To run .rdf report from Apex application, you have to do the following:
Map Apex parsing schema with the Application server and to do that add the mapping string to the mapping file
cgicmd.dat:Go to the mapping file Directory:
Application_Server_Directory\reports\confIn our case
Application_Server_Directoryis:D:\oracle\FRHome_1as installed in previous steps. So the directory will be:D:\oracle\FRHome_1\reports\conf- Open Mapping file:
cgicmd.datand add the mapping string at the last line of the mapping file:Key_name: userid=APEX_Parsing_Schema/Schema_Password@Service_Name destype=destype desformat=desformat paramform=no %*Where:
Key_name: is th key name. It is named astest_keyin our demo. You can specify any name you want.APEX_Parsing_Schema/Schema_Password@Service_Name: is the parsing schema connection string. In our demo it is:test_user/123@xedestype: specify it ascachedesformat: specify it aspdfparamform: specify it asno%*: means entire contents (all arguments) from orginal rwservlet URL request.
In our demo the connection string will be:
test_key: userid=test_user/123@xe destype=cache desformat=pdf paramform=no %*
Run reports from APEX Application.
To run .rdf reports from APEX, we have to call the .rdf file using rwservlet url with its parameters. The rwservlet url syntax is:
APPLICATION_SERVER_IP_ADDRESS:REPORTS_SERVER_PORT/reports/rwservlet?MAPPING_KEY&report=RDF_REPORT_NAME&REPORT_PARAMETER=VALUE
Where:
APPLICATION_SERVER_IP_ADDRESS: is the Application server Machine name or IP Address. In our case it is10.10.0.100REPORTS_SERVER_PORT: is the Report server port which is by default80.reports/rwservlet?: is static word.MAPPING_KEY: is the key name that you sepcified in previous steps. In our case it is:test_key.RDF_REPORT_NAME: is the.rdfreport name. In our case it is:test_1.REPORT_PARAMETER: is the parameter name in.rdfreport. For example:P_EMP_ID.VALUE: is the parameter passed value. It is the APEX Page item. For example:P10_EMP_ID(in the url it will be'+$v('P10_EMP_ID'))
The URL in our case will be:
http://10.10.0.100:80/reports/rwservlet?test_key&report=test_1&P_EMP_ID='+$v('P10_EMP_ID'));To call the report URL from APEX do the following:
- Create a button in the APEX Page where you want to run the report and give it a name. For example:
Print. - In the Page Property, Go to
Function and Global Variable Declarationand add a Javascript Function to call the.rdf report. The Javascript Function will be be like below:function runreport(){ window.open('http://10.10.0.100:80/reports/rwservlet?test_key&report=test_1&P_EMP_ID='+$v('P10_EMP_ID')); } - In the
ButtonProperty, go toBehaviorand selectRedirect to URLfromActionProperty and specify theJavascript Function Name:javascript:runreport();


Comments
Post a Comment